前言
本文将介绍如何将SonarQube版本从7.6升级到8.9.6LTS。我们将讨论一些升级步骤和注意事项,并提供解决常见问题和疑难杂症的方法。
官方不推荐跨版本升级,故按以下路线进行升级:7.6 -> 7.9 LTS -> 8.9.6 LTS
操作流程
从MySQL迁移数据至PostgreSQL
7.9以上版本不支持MySQL,所以需要先迁移数据至其他数据库,下面使用的目标数据库是postgresql
借助官方工具: https://github.com/SonarSource/mysql-migrator
-
下载工具,解压缩
wget https://binaries.sonarsource.com/Distribution/mysql-migrator/mysql-migrator-1.1.0.119.zip
unzip mysql-migrator-1.1.0.119.zip mysql-migrator
-
创建源数据库配置文件(仅MySQL)
vim ./mysql-migrator/source.propertiessonar.jdbc.url = jdbc:mysql://10.8.46.203:3306/sonar?useUnicode=true&characterEncoding=utf8&rewriteBatchedStatements=true&useConfigs=maxPerformance&useSSL=false sonar.jdbc.username = sonar sonar.jdbc.password = sonar -
创建目标数据库配置文件(非MySQL)
vim ./mysql-migrator/target.propertiessonar.jdbc.url = jdbc:postgresql://10.8.46.203:5432/sonar sonar.jdbc.username = sonar sonar.jdbc.password = sonar -
启动一次相同版本,但数据库配置为目标数据库的SonarQube
vim ./sonarqube-7.6/conf/sonar.properties#原来的数据库地址 #sonar.jdbc.username=root #sonar.jdbc.password=123456 #sonar.jdbc.url=jdbc:mysql://10.8.46.203:3306/sonar?useUnicode=true&characterEncoding=utf8&rewriteBatchedStatements=true&useConfigs=maxPerformance&useSSL=false #新的数据库地址 sonar.jdbc.url = jdbc:postgresql://10.8.46.203:5432/sonar sonar.jdbc.username = sonar sonar.jdbc.password = sonar./sonarqube-7.6/bin/sonar.sh restart ./sonarqube-7.6/bin/sonar.sh stop -
执行转移数据程序
./mysql-migrator/bin/mysql-migrator -source source.properties -target target.properties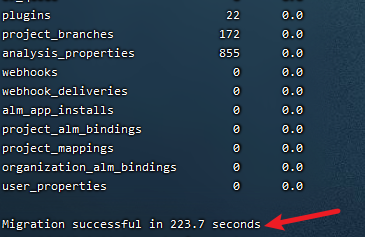
-
删除
data/es5数据rm -rf ./sonarqube-7.6/data/es5 -
启动SonarQube
./sonarqube-7.6/bin/sonar.sh start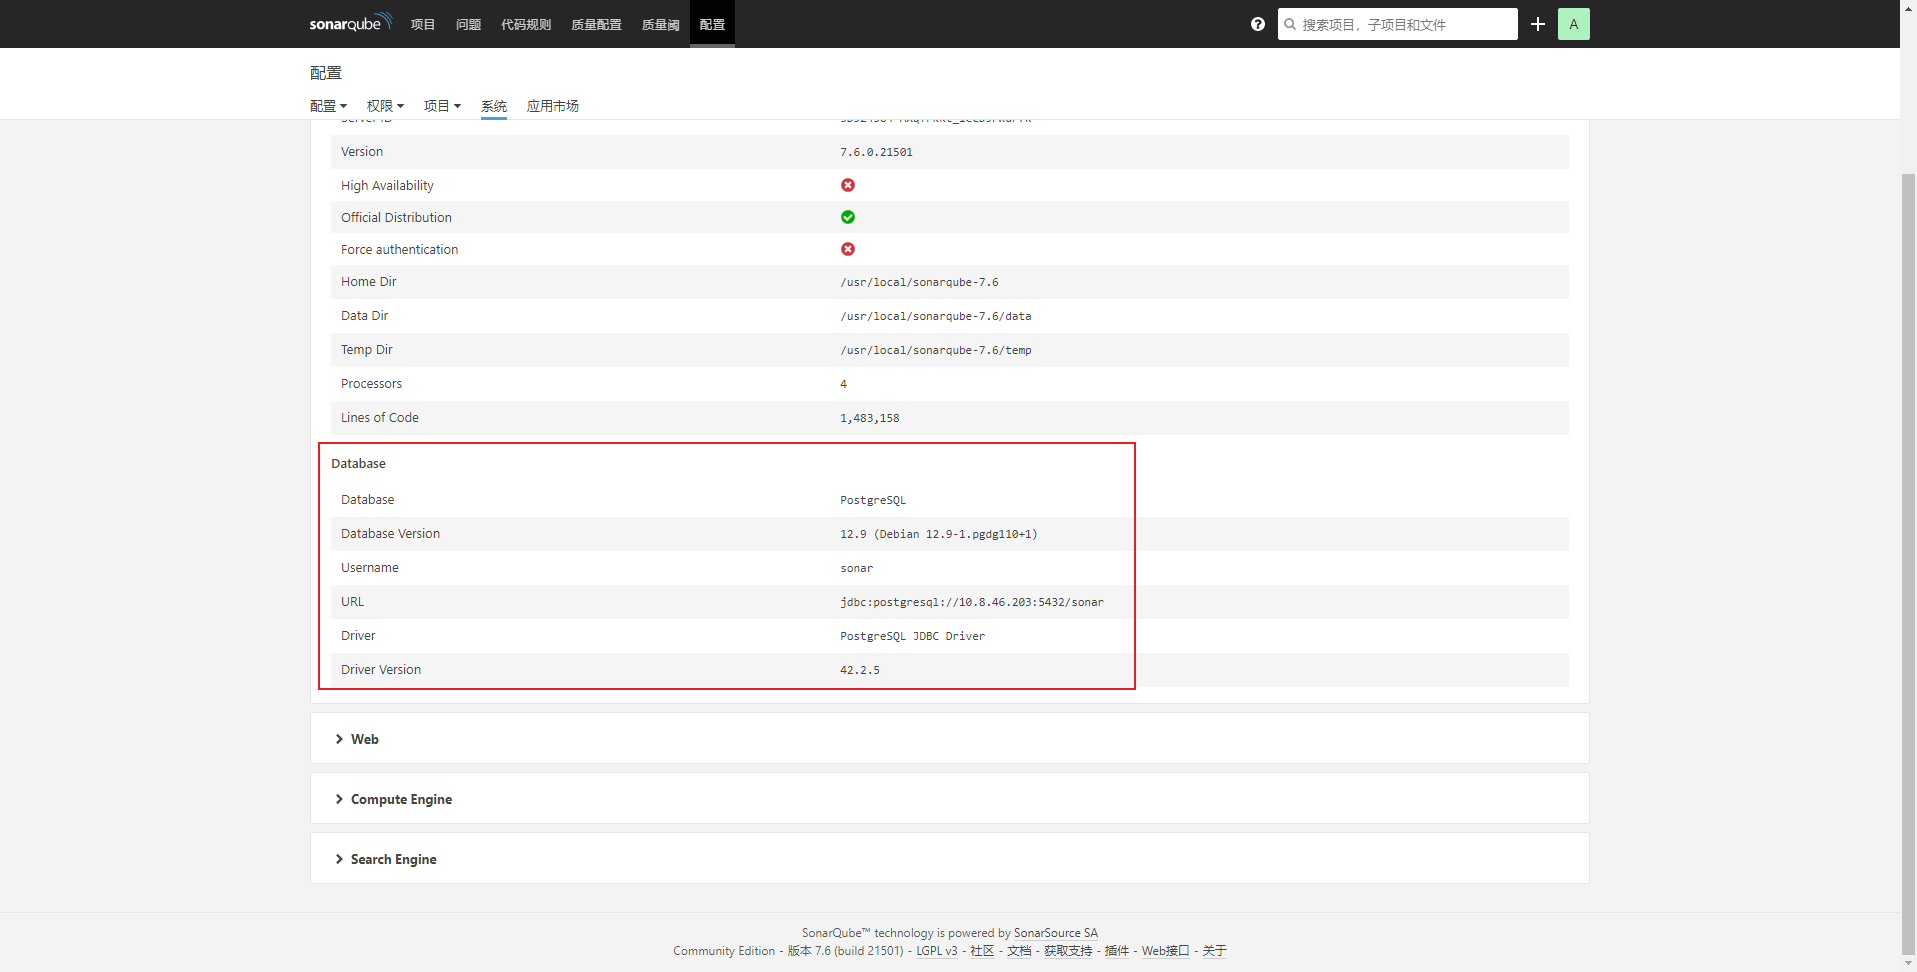
升级SonarQube7.6至7.9.6 LTS
官方文档:https://docs.sonarqube.org/7.9/setup/upgrading/
-
下载7.9LTS版本的SonarQube,并解压缩
wget https://binaries.sonarsource.com/Distribution/sonarqube/sonarqube-7.9.6.zip unzip sonarqube-7.9.6.zip -
修改配置文件数据库地址,不能复制老版本的文件
vim conf/sonar.properties
-
安装Java11(如果已经安装可以跳过)
SonarQube 7.9以上版本只支持Java11以上版本
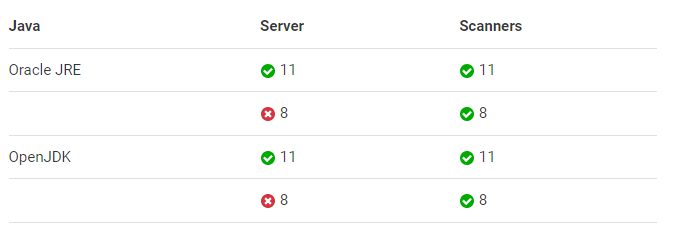
下载地址:https://www.oracle.com/java/technologies/downloads/#java11
docker cp jdk-11.0.13_linux-x64_bin.tar.gz sonarqube:/opt docker exec -it sonarqube bash tar -zxvf jdk-11.0.13_linux-x64_bin.tar.gz -
修改
wrapper.conf,调整Java地址wrapper.java.command=/opt/jdk-11.0.13/bin/java -
修改新目录用户权限
chown -R sona:sona sonarqube-7.9.6 -
切换sona用户,停止旧版本SonarQube
./sonarqube-7.6/bin/linux-x86-64/sonar.sh stop -
启动新版本SonarQube
./sonarqube-7.9.6/bin/linux-x86-64/sonar.sh start -
备份原来的数据库后,访问
http://ip:port/setup,点击Upgrade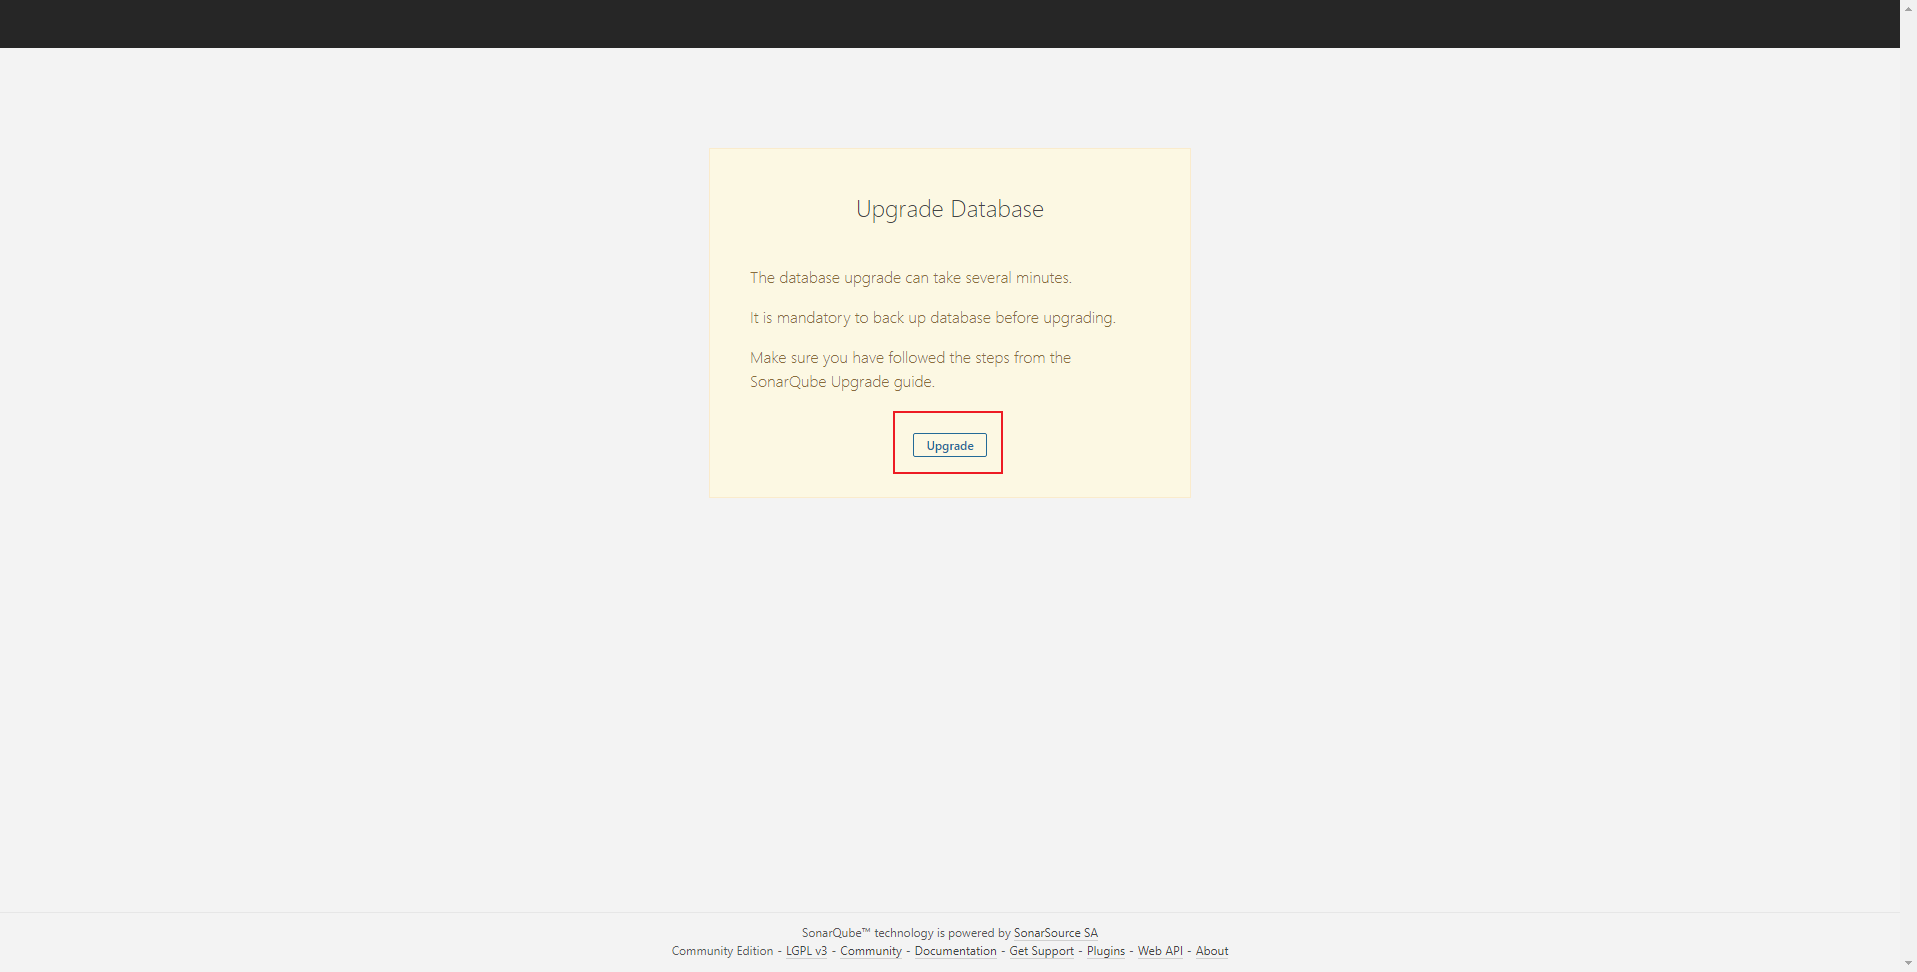
成功后会自动跳转首页
-
重新使用SonarQube,分析、安装插件等等

升级SonarQube7.9.6LTS至8.9.6LTS
官方文档:https://docs.sonarqube.org/8.9/setup/upgrading/
-
下载8.9.6LTS版本的SonarQube,并解压缩
wget https://binaries.sonarsource.com/Distribution/sonarqube/sonarqube-8.9.6.50800.zip
unzip sonarqube-8.9.6.50800.zip
其余步骤与上面一样
-
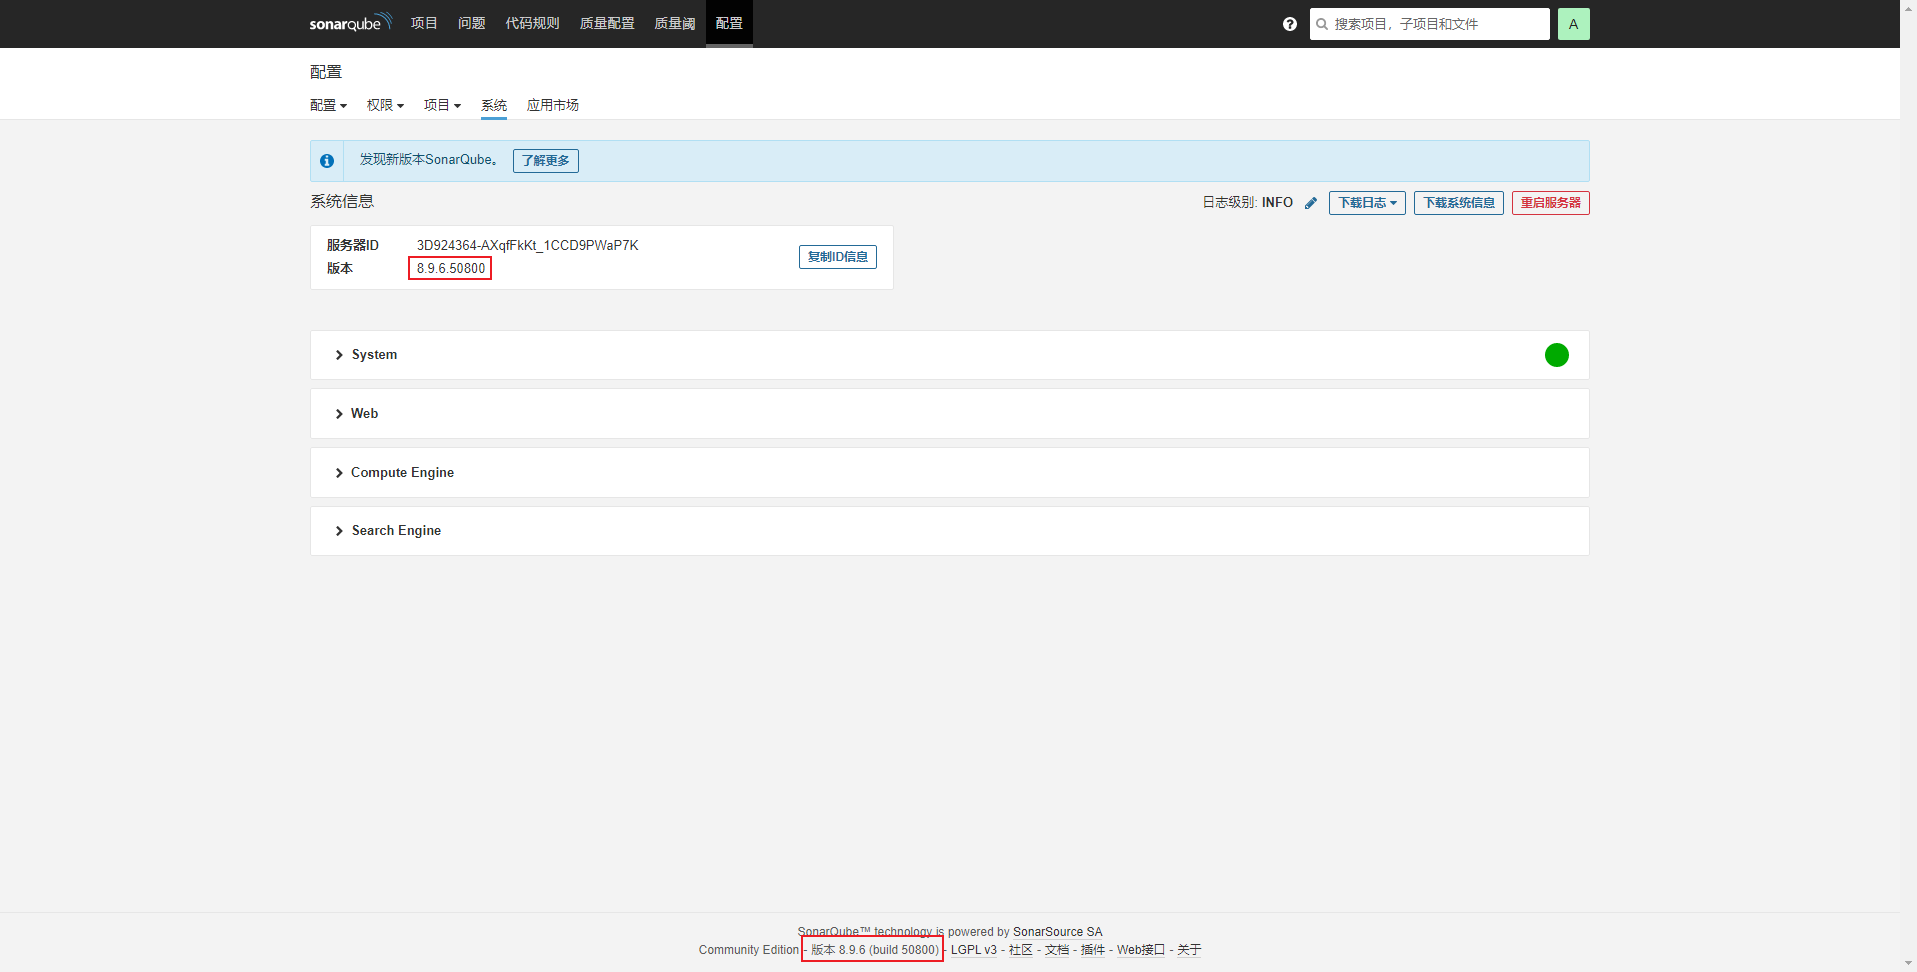
成功后版本如图
